1. Start "\\cern.ch\dfs\users\t\trtbar\Leak test\Module Leak Test\module leak test.vi" by clicking on the "Leak test station #2" icon on the desktop.
2. Press the LabVIEW "Run" button.
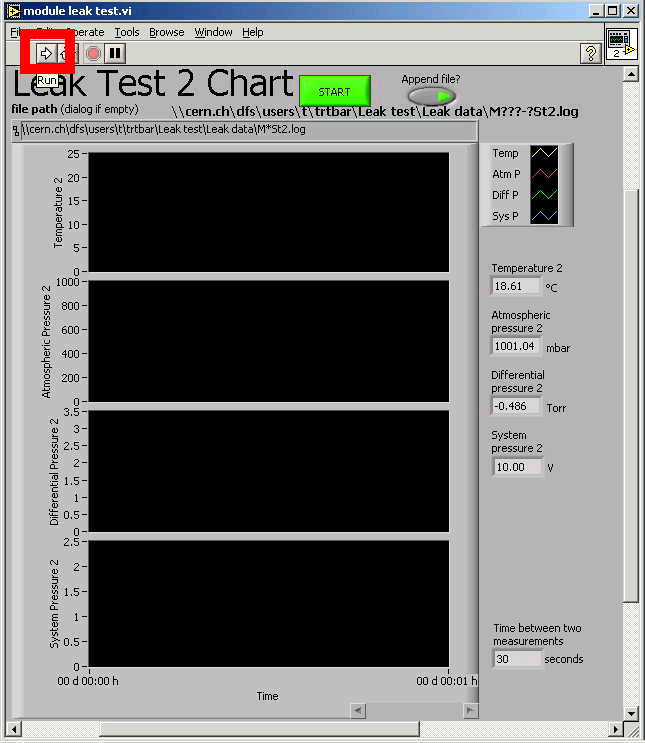
3. Adjust file path. If you leave the path empty a dialog box will appear.
Select if you want to append data to an existing file or if you want to overwrite the old data. If the LED in the switch is on, data will be appended.
Files should be stored in \\cern.ch\dfs\users\t\trtbar\Leak test\Lest data\M???-?St2.log where ??? is the module number and ? the number of test with this module, for example M106-2St2.log is the 2nd test with module 1.06.
Attention: You cannot do this later! All settings will be locked after you pressed the "Start" button.
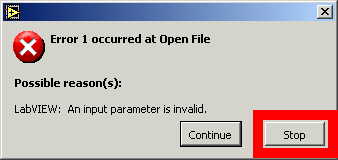
If you get this error message, the path you entered is not accepted. Press "Stop"!

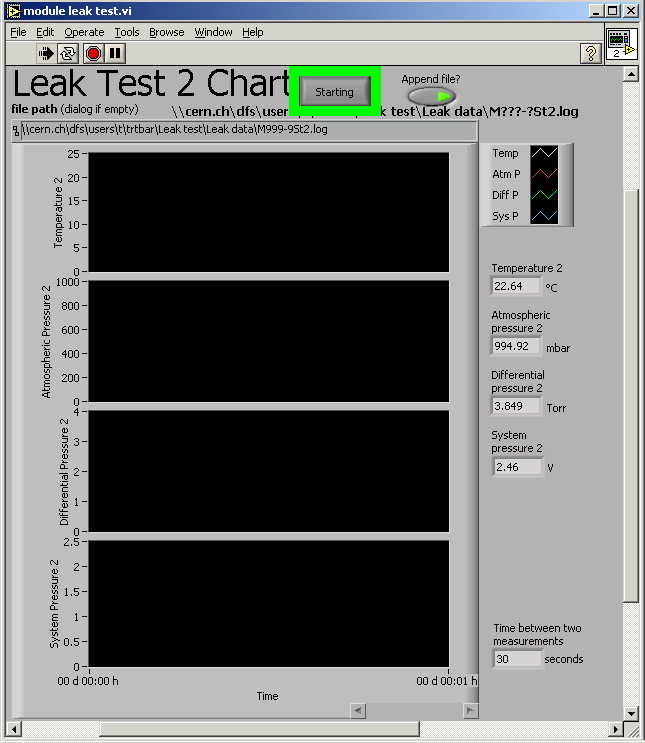
4. Press the "Start" button.
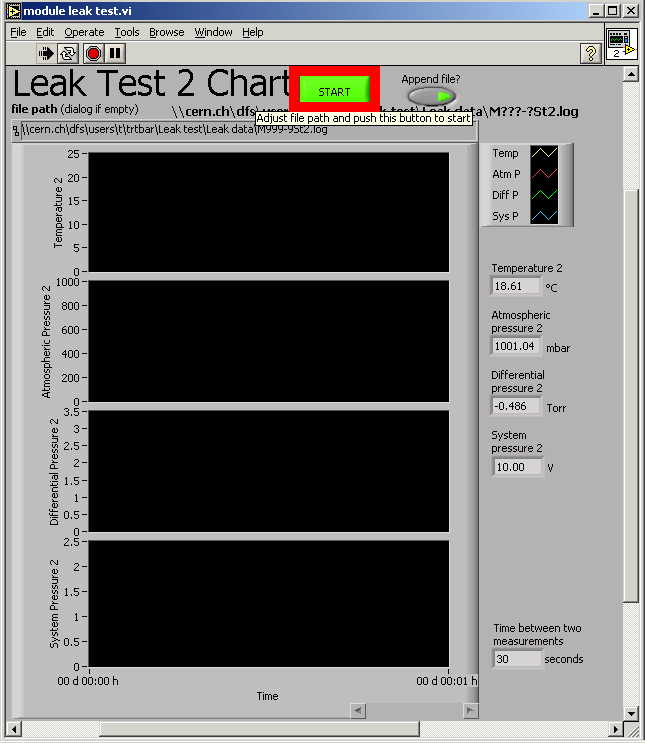
The color and label of the "Start" button will change to gray "Starting". After the first measurement is done, it will change to red "STOP".
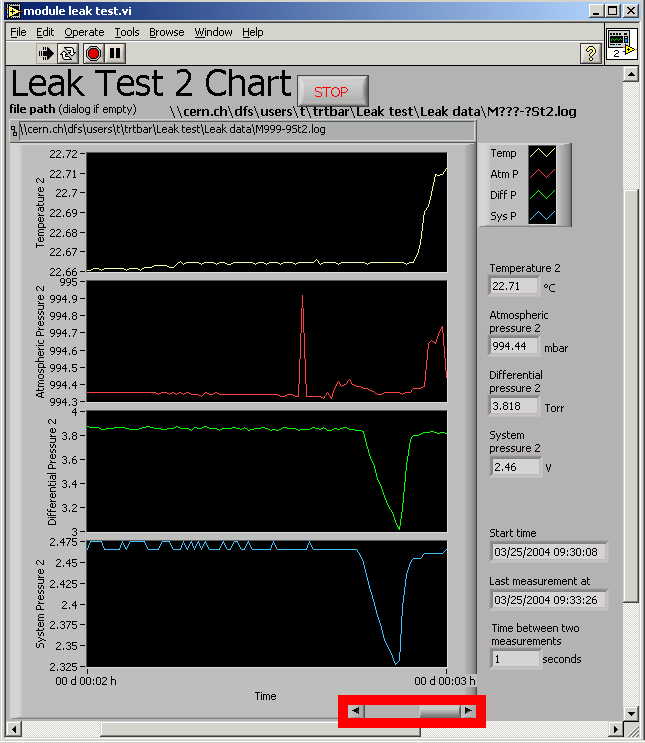
5. You can scroll back in the charts by using the scroll bar at the bottom of the data logger window.
On the right, the most recent measurements are displayed as well as the sample interval, the start time and the time the last sample has been taken.
6. Press the "STOP" button to stop the data logger.
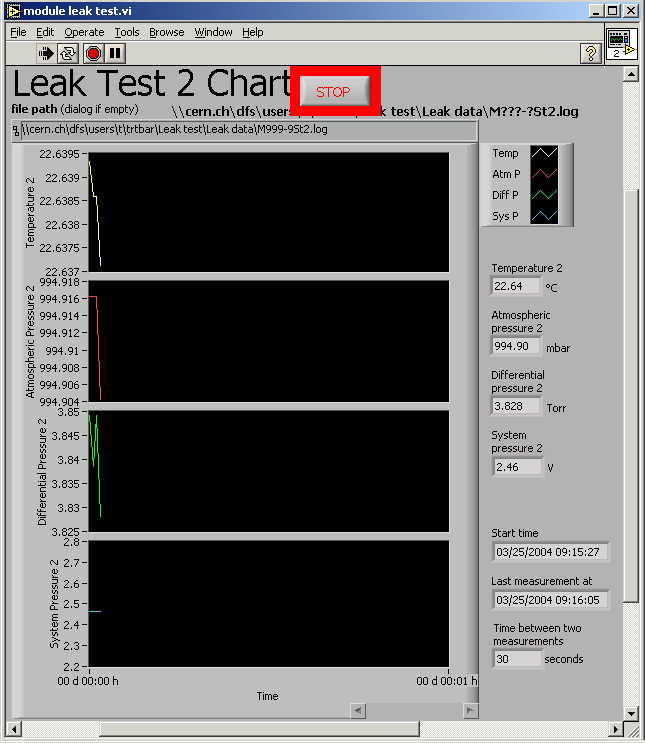
The label of the "STOP" button will change to "Stopping" until the next measurement has been taken.

Wait until the button has disappeared.
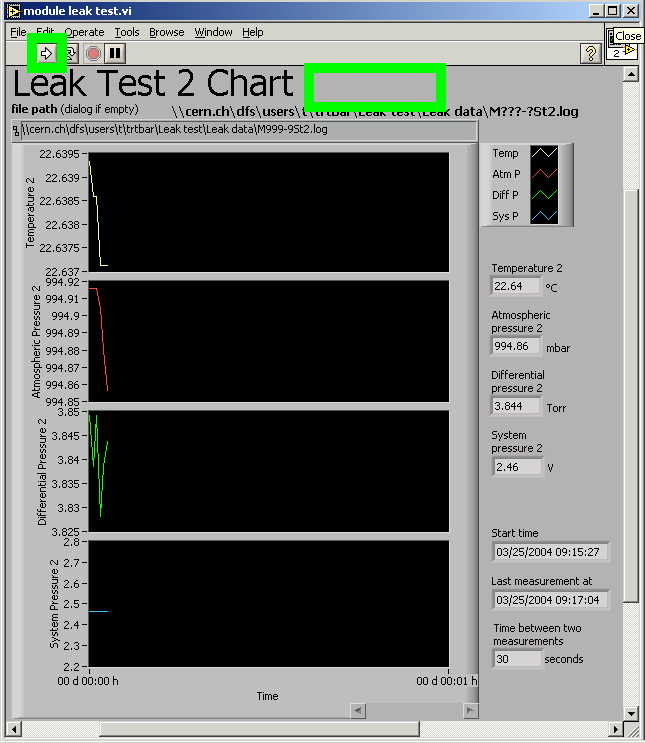
The data logger is stopped now. The LabVIEW "Running" button has changed back to "Run".
To start the data logger again, go back to step 2. If you want to continue the same test, do not forget to switch on the "Append" button.
Christian Mester, 2004-03-25